After the final mow of your lawn, your Navimow robot mower is no longer needed. Once the first frost hits the ground, you won’t be mowing your lawn until spring. Thus, it’s time to store your mower appropriately.
In this article, we will explain how to store Navimow properly before winter. We will share the step-by-step process that you can easily follow.
1) Prepare Your Tools
Start by gathering the tools. You only need a few simple tools that you are most likely to have at home.
- Manual screwdriver (Do not use an electric one)
- Cleaning brush
- Protective gloves for removing blades
- 4 silicone pegs that you can find in the mower’s box
2) Put the Mower on Hibernation
Navimow robot mowers have a built-in Hibernation feature. You have to activate it before storing the mower.
Step 1: Put the mower on the charging station. Let it charge to at least 85% battery.
Step 2: Once the battery is charged, remove the mower from the charging station.
Step 3: Open the app. Go to Help and Feedback and tap Winter Storage. Under Hibernate your mower, tap Begin Hibernating.

When you put the mower in hibernation mode, the mower uses less energy than a standard shutdown. Thus, the charge lasts longer, and the battery remains unharmed.
3) Store the Garage and Charging Station
Unplug the charging station. If you have installed the garage on it, uninstall it first. After that, unscrew the ground screws.
Before moving the charging station, you must mark its location. This way, you can place the charging station back in its original location in the spring. Use the silicone pegs to mark the location.

Disconnect the charging station from the antenna cable (if installed). You are ready to store the charging station. But before that, use a damp cloth to clean the surface. Clean the charging ports as well.
4) Uninstall the Antenna
This step is not for the NRTK users, as they do not need an antenna.
RTK users place an antenna in the lawn or on the wall or roof. If it is on a wall or roof, you don’t need to remove it. Just cover it with a plastic bag or protective cover. It is necessary to protect the antenna from rain and dust during winter.
If the antenna is installed in the lawn, you can easily disassemble it. Remove the screw to detach the antenna head and the pole.

Store the antenna head and pole and leave the base at its location. This way, you can place the antenna back at its position in the spring. It does not change the antenna’s location. If you change the antenna location, you will have to create a new map.
5) Remove Blades
Now, it’s time to remove the blades carefully. Put on protective gloves to prevent any cuts and accidents.
Step 1: Turn the mower upside down on a flat and clean surface.
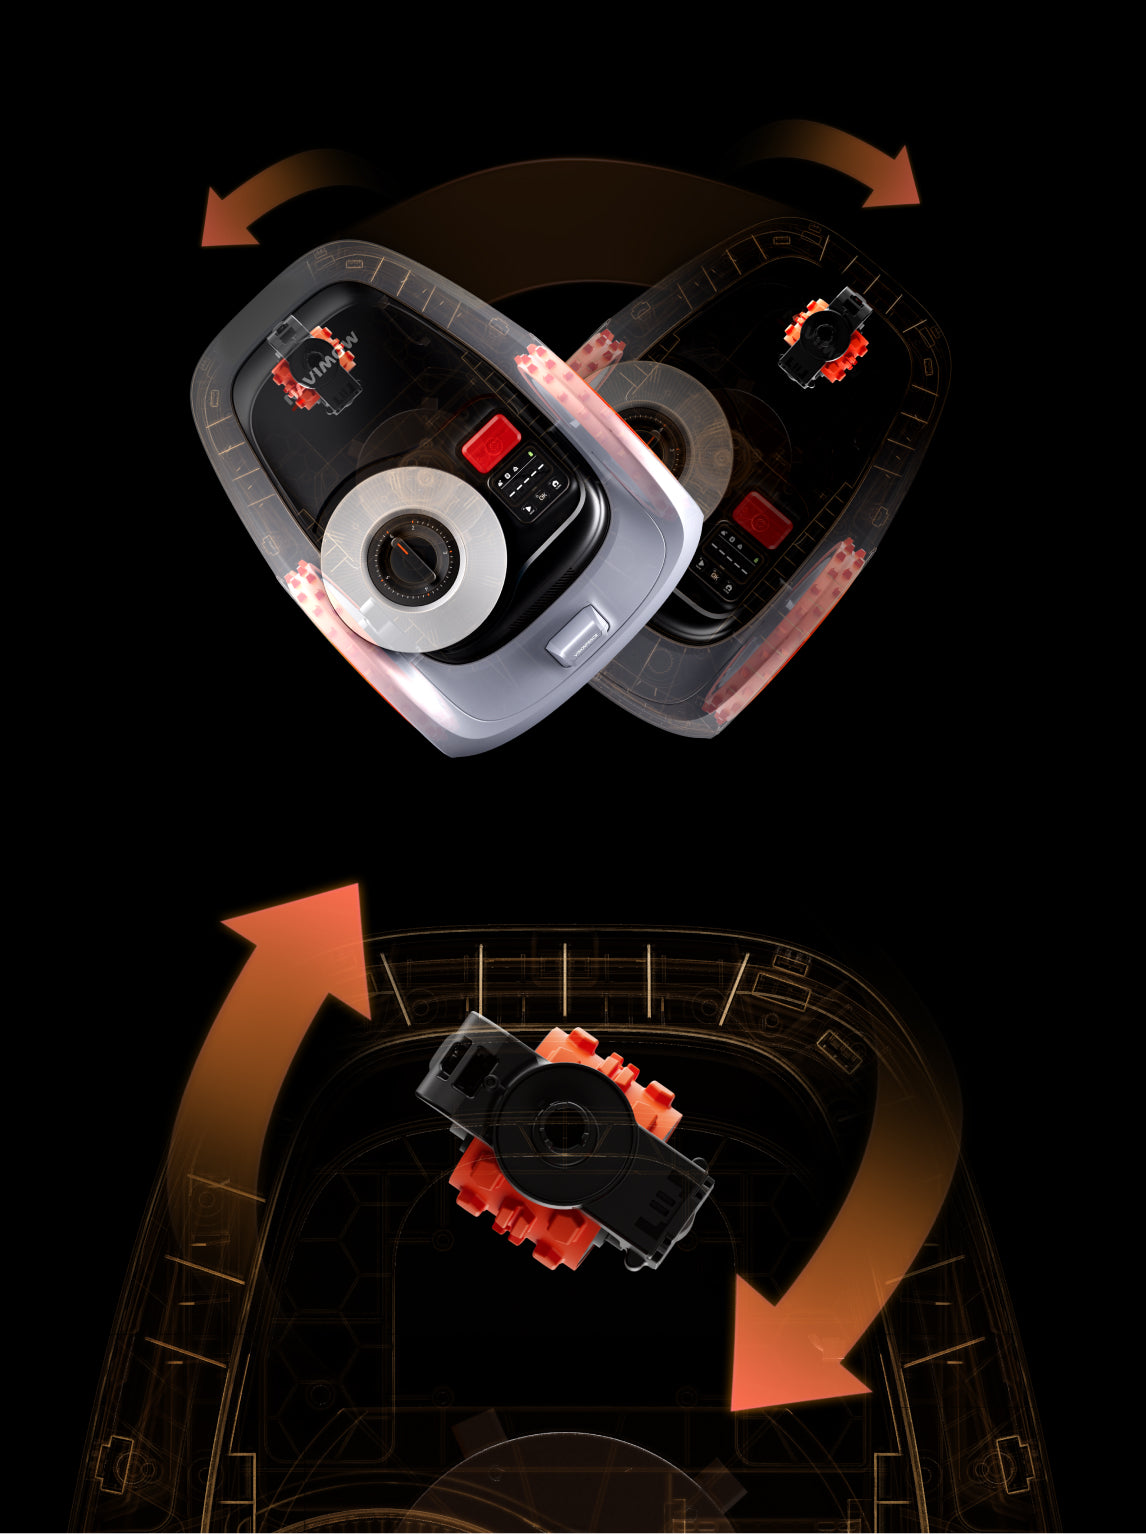
Step 2: Use a cross-tip screwdriver to loosen the screws of the cutting disc.
Step 3: Remove the cutting disc carefully. Now, you will have completely exposed blades.
Step 4: Loosen the screws of each blade. Carefully remove everything.

6) Clean the Mower
You have to thoroughly clean every part of the mower before storage.
Exterior: First, clean the exterior body. Use a soft brush to get rid of the grass clippings or any debris. Then, use a clean cloth to clean the whole body. Do not use alcohol, gasoline, acetone, or other corrosive or volatile solvents. They might damage the surface and internal structure of your mower.
Lens and LiDAR: Clean the camera and LiDAR sensor with a clean cloth. Gently wipe off the dirt and clean the stains.
Wheels: Remove the grass and debris on the wheels. You can use a brush to clear the mud and grass clippings.
After that, you can rinse the whole mower body. Use a water hose to wash away the grass clippings and dirt. You can use a brush to get rid of stubborn debris. Do not use a high-pressure washer. It can leak into the sealings and damage electronic and mechanical parts. A water hose with normal pressure is enough.
Once the mower is cleaned, use a clean cloth to dry the surface.

7) Install the Cutting Disc and Blades
After cleaning, you can install the cutting disc and blades.
If the blades have completed their lifespan, you can dispose of them properly. Just make sure to put on new blades in the spring. Or you can also install new blades and screws now. You can get the right blades and new screws from Navimow. Do not use old screws again.
Once you have secured the blades, make sure they are free to move because they spin during mowing. Then, fasten the cutting disc on the mower.
8) Pack and Store
The last thing you need to do is pack. Pack the mower and charging station. Also, gather all the cables carefully. Finally, put them into the box.
The mower is ready for winter storage. Place the box indoors. The place should be dry and frost-proof. The recommended temperature of the storage location is between 41°F (5°C) and 113°F (45°C).

Final Words
Before the first frost, you have to mow the lawn for the last time and pack your mower for storage. It’s necessary to store a Navimow robot mower appropriately to protect it, extend the battery lifespan, and ensure it starts in the next season without any hassle. We have explained how to store Navimow before winter. Follow the simple steps and store your mower to mow again in the next season.