Controlling and eliminating weeds is difficult because there are dozens of methods and hundreds of weed varieties. You have to choose the right method for the weed species and area, and apply it at the right time.
To address this issue, we have created this comprehensive guide on how to get rid of weeds. It covers natural and synthetic methods, with details on when, where, and how to use them. It will help you choose the right weed control/removal method for your situation and keep your lawn, garden, or landscape weed-free.
Before we get into weed control/removal methods, identify the types of weeds you have in your lawn, garden beds, vegetable plots, etc. Check our detailed guide on types of weeds.
Natural Weed Control
1) Hand Pulling and Stand-Up Weeders
Where to use: Lawns, garden beds, vegetable plots, and tree rings.
Best for: Taprooted perennials (dandelions, broadleaf dock, wild carrot), fibrous-rooted clumpers (broadleaf plantain, buckhorn plantain), and young annuals before tillering (crabgrass seedlings, purslane, common chickweed).
Avoid on: Creeping rhizomatous perennials (creeping Charlie, field bindweed, Canada thistle) and sedges (yellow/purple nutsedge).
Pulling weeds by hand or using stand-up weeders is an effective weed removal method. You can target specific weeds and remove them along with the root crown and taproot so they don’t regrow.
However, use this method only for specific weeds, such as dandelions and broadleaf plantains. Do not use them for creeping rhizomatous perennials and sedges. Breaking them would trigger dormant nodes and force rapid growth.
Step-by-Step Process
- The soil should be damp to pull out weeds. Wait for 12-18 hours after deep irrigation or rain.
- Stand directly over the weed. If you have a stand-up weeder, position it in the center and step down firmly on the footplate.
- If you are using your hands, wear gloves and grab the weed from the base. Pull the weed straight up.
- Make sure you don’t break the taproots. If there is something left in the soil, take it out.
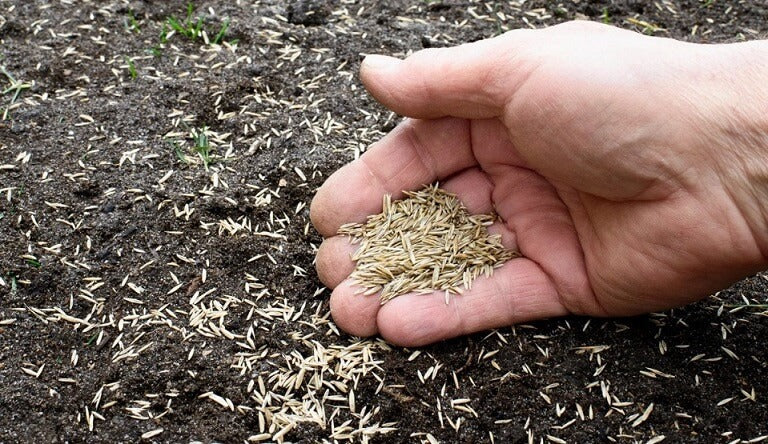
- Close the hole, and it’s better to add a pinch of grass seed.

2) High Mowing
Where to use: Established home lawns, sports turf, and commercial turfgrass.
Best for: Sun-dependent annual weeds (crabgrass, goosegrass, foxtail, prostrate spurge) and low-growing broadleaves (dandelions, clover, chickweed).
Avoid on: Creeping bentgrass greens and low-cut warm-season grass species (under 1.5 inches), like hybrid Bermudagrass.
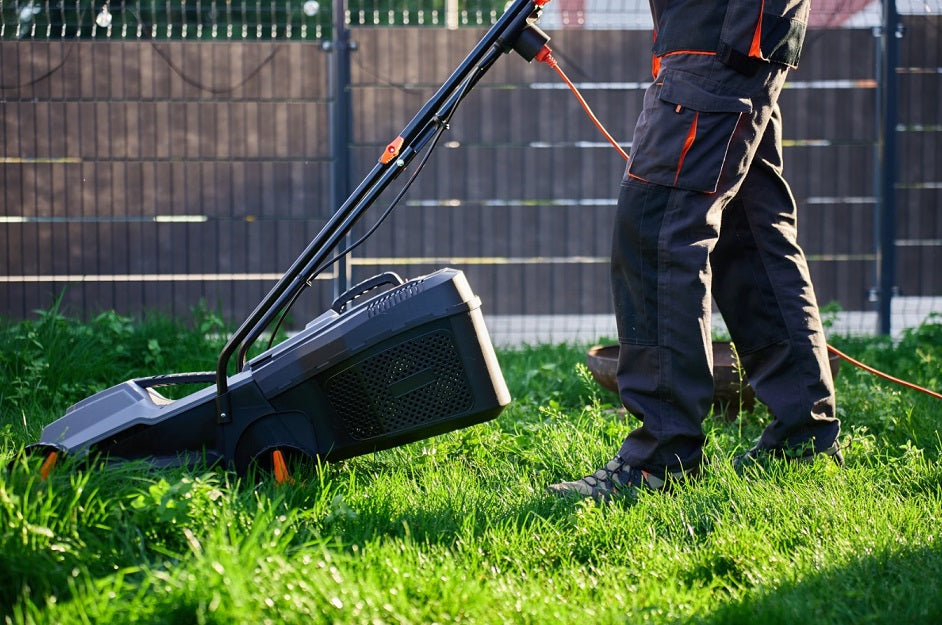
Lawn owners often don’t realize how important mowing height is. Mowing high is a proven way to reduce weed growth.
When you keep the grass a bit higher than normal, it blocks sunlight from reaching the soil. As a result, weed seeds that require direct solar exposure do not germinate. Moreover, it also keeps the soil a bit cooler. Therefore, weeds that need higher soil temperatures, like crabgrass, stay dormant.
Step-by-Step Process
- Raise the deck a bit higher than usual.
- Follow the one-third rule. Do not mow more than one-third of the grass.
- Keep the mower blade sharp. Mow the whole area.
- Maintain the grass height. You may need to mow more frequently in the peak growing season.
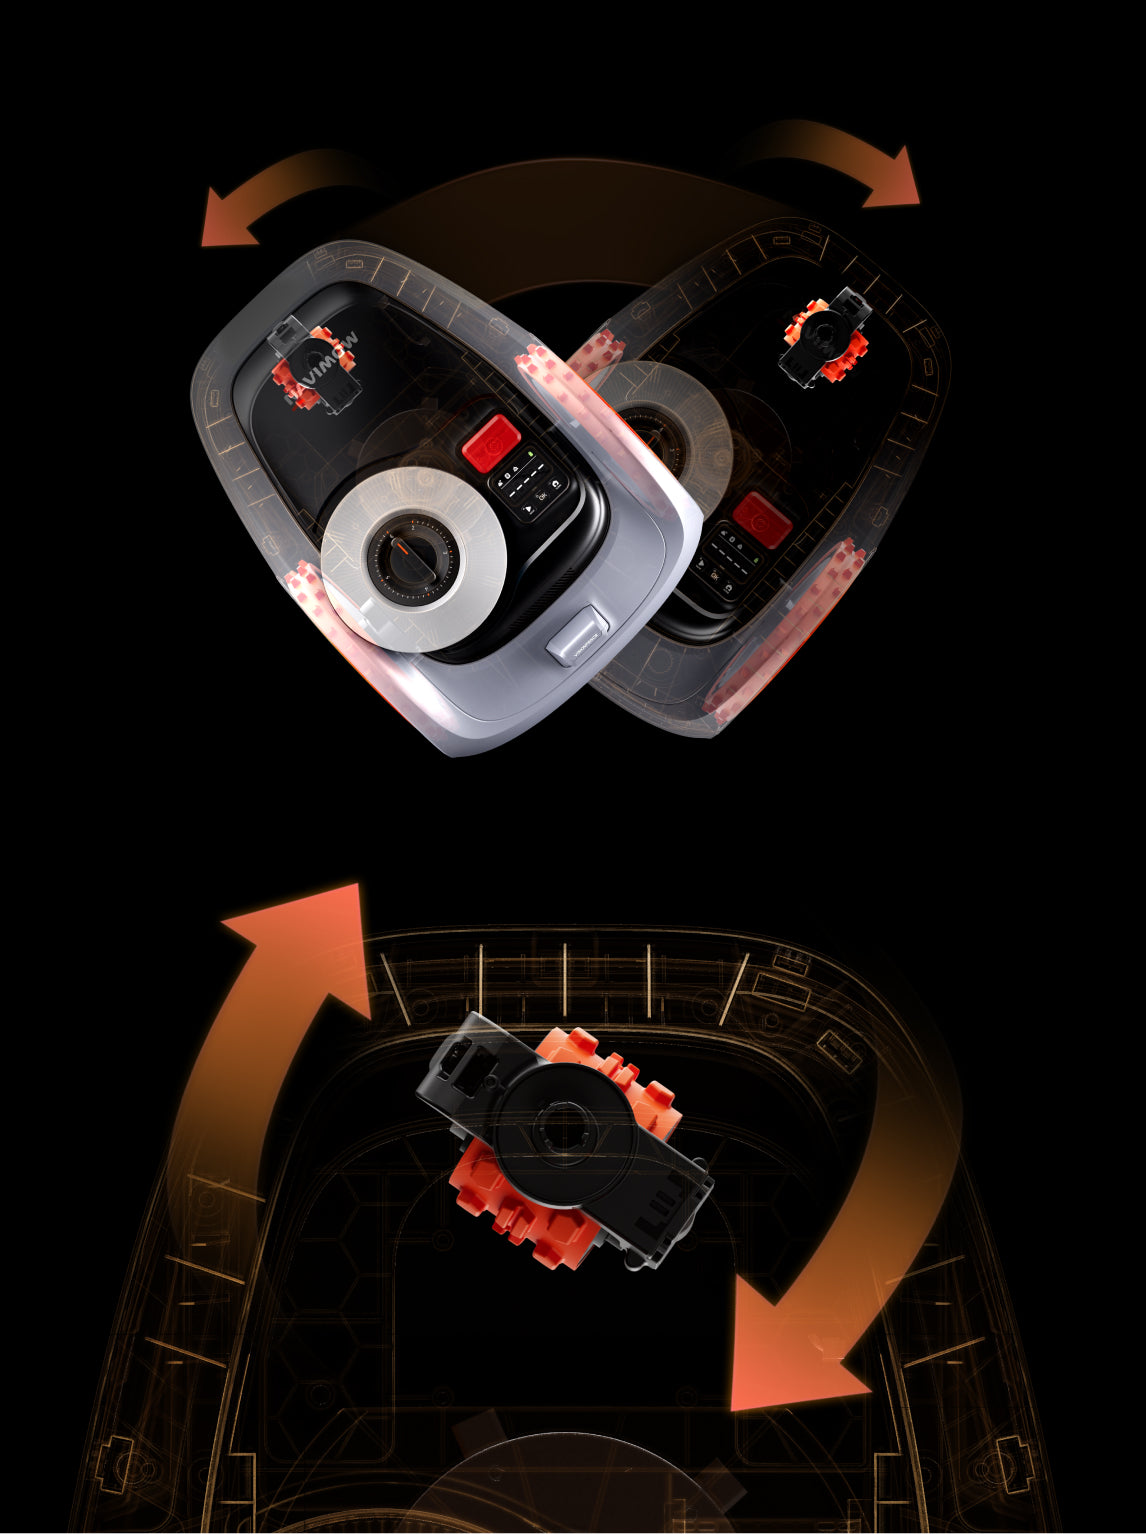
A better option is a robot lawn mower. You can adjust the mowing height, schedule, and other settings. It will automatically mow your lawn and prevent it from overgrowing.

3) Core Aeration and Overseeding
Where to use: Thinning lawns, high-traffic turf areas, compacted clay soils, and recurring weeds.
Best for: Crowding out weeds that grow in compacted soil, such as broadleaf plantain, goosegrass, and knotweed. Also, for filling bare lawn voids where crabgrass, clover, and dandelions grow.
Avoid on: Heavily weed-infested lawns where weeds have mature seed heads and during heat or drought stress.
Core aeration and overseeding are natural and effective weed control methods. But they are usually overlooked.
For long-term weed prevention, you must avoid soil compaction. Once the soil compacts, the grass struggles to thrive, and weeds take over. Similarly, if the area is too thin and there's barely any grass left, weed seeds will get enough sunlight to sprout.
Core aeration is the best way to reverse soil compaction. You remove soil plugs from the lawn, and it creates cavities and allows the soil to expand. It improves air, water, and nutrient exchange, and the grass grows healthy. It automatically reduces weed growth.
After core aeration, overseed the area. It’s also the best time to plant new grass seeds, as they directly land on the soil and have better germination. Once new grass grows, it does not let weed seeds sprout.
Step-by-Step Process
- Mow the lawn lower than usual.
- Water the area a day before the aeration schedule.
- Use a manual core aerator for a small lawn and a powered aerator for a large area.
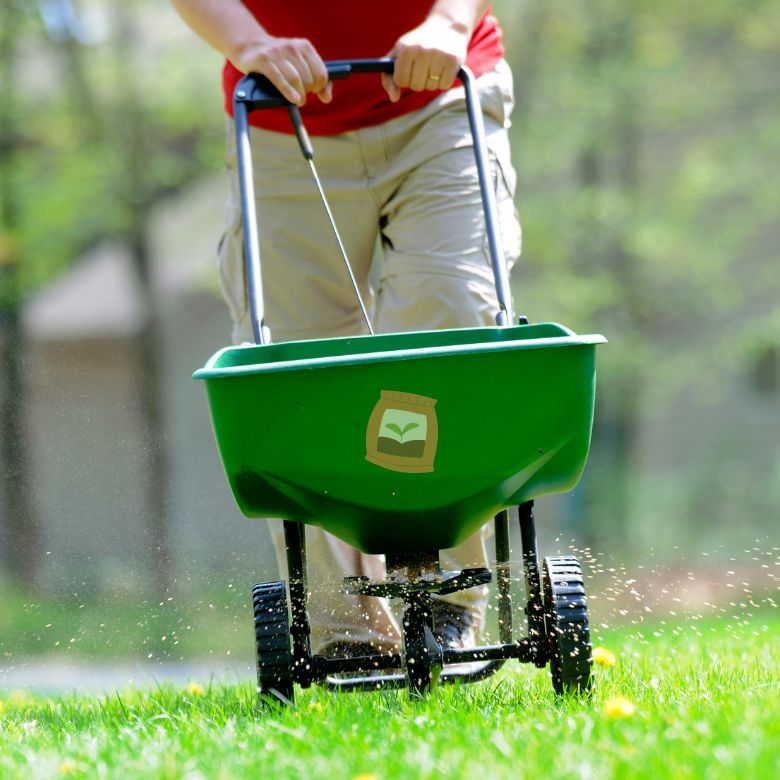
- After aeration, use a spreader to spread the seeds.
- Apply a starter fertilizer for better germination.
- Keep the top half-inch of the soil moist. Lightly water 2-3 times a day. For more details, check out how long to water new grass seeds.

4) Corn Gluten Meal
Where to use: Established lawns, perennial landscape beds, and mature shrub borders.
Best for: Preventing germination of crabgrass, smooth clover, dandelions, foxtail, pigweed, and lambsquarters from seed.
Avoid on: Newly seeded lawns or gardens and already sprouted, actively growing weeds.
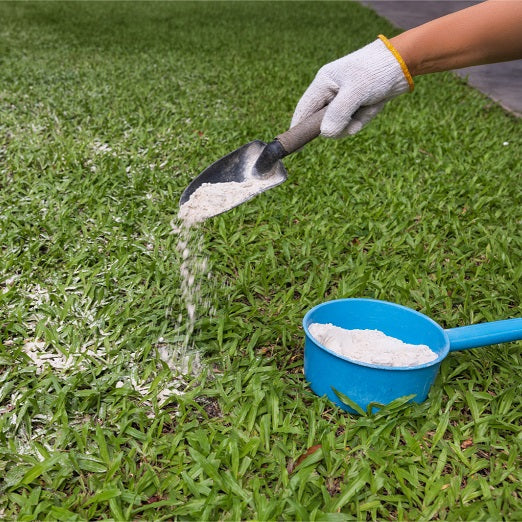
Corn Gluten Meal is a natural pre-emergent you can use in your lawn to prevent new weed seeds from germinating. It is an organic byproduct of the wet-milling process of corn and contains five active inhibitory dipeptides that act as an organic pre-emergent.
It prevents the weed seeds from forming a radicle or root hair. That’s why, when they sprout, they are unable to absorb soil moisture. If the upper soil layer dries out, the weed seed dies underground.
Corn gluten meal also contains 9% to 10% slow-release nitrogen. It turns the grass green and helps it outcompete weed seeds.
Step-by-Step Process
- Apply it in the early spring. Before application, pull out active weeds first.
- Spread the palletized corn gluten meal. You can apply 20 pounds per 1,000 square feet using a spreader.
- Water the area lightly to break the pallets and wash it into the soil.
- Do not water for the next 48 to 72 hours.
5) Hoeing
Where to use: Vegetable gardens, open crop rows, flower beds, and bare paths. Not for lawns.
Best for: Germinating annual broadleaf and grassy seedlings under 2 inches tall (pigweed, common lambsquarters, prostrate spurge, velvetleaf, chickweed, henbit).
Avoid on: Established perennial weeds (taproots survive and re-sprout) and healthy turfgrass lawns (cultivation tears turf roots and creates bare patches).
A hoe goes just beneath the soil surface and slices weed stems at the roots. You can easily clear large beds of weeds in no time. However, it’s only suitable for surface annuals that are below 2 inches.
You cannot hoe weeds that can regrow from the roots. It’s only suitable for areas where there is no grass. Otherwise, it will also damage the turf.
You can find more than a dozen types of hoes, and it’s a bit difficult to recommend one. Whatever you like, you can use it.
Step-by-Step Process
- For hoeing, the topsoil should be dry. Do it under bright sun.
- Take your favorite hoe and push 0.5-1 inches below the soil.
- Slide the blade smoothly through the bed.
- You can leave the cut seedlings to dry out under the sun. Just make sure to cover the bare area with mulch to prevent new weed seeds from sprouting.

6) Sheet Mulching and Tarping
Where to use: Overgrown garden beds, planting borders, fallow vegetable plots, and lawn conversions. Not for existing lawns.
Best for: Large weed-filled garden areas, lawn patches, and creeping perennials (field bindweed, quackgrass, Bermudagrass, dandelion colonies).
Avoid on: Weeds over turfgrass, poorly drained areas, and around ornamental trees.
Sheet mulching is spreading a plain corrugated cardboard or multiple layers of newspaper over the lawn to prevent the weeds from getting sunlight. It blocks air and sunlight and traps moisture. After that, compost and wood chips are spread over the cardboard.
It completely blocks the light, so there is no more photosynthesis. The weeds use their stored energy, and then suffocate and die. Moreover, the warm and moist environment under the cardboard invites earthworms, beneficial fungi, and microbes, and they decompose the dying roots.
It’s perfect for stubborn weeds. It’s pretty simple and does not require intense labor. But keep in mind that it takes several months to show results.
Step-by-Step Process
- Mow the area and cut the grass shorter than usual.
- Water the area deeply and lay down overlapping cardboard.
- Spray water over the cardboard until it is saturated.
- Apply a 1-inch layer of compost and a 3–4-inch layer of wood chips.
- After a few months, the weeds turn into nitrogen- and carbon-rich topsoil.
7) Wood Chip and Bark Mulching
Where to use: Landscape beds, shrub borders, tree rings, garden walkways, and perennial plantings. Not for lawns.
Best for: Small-seeded annual broadleaves and grasses (pigweed, crabgrass, foxtail, spurge, chickweed).
Avoid on: Established turfgrass, direct-seeded vegetable rows, and areas overrun by mature, deep-rooted perennials (thistle, dock) that can easily push through mulch layers.
If you want to keep your garden beds, tree rings, and other bare areas free from weeds, wood chip or bark mulch is an excellent option. The fact is, weed seeds are in the top layer of soil, but they remain dormant until sunlight triggers germination.
When you put mulch above the soil, it blocks sunlight, so there are extremely low chances of weed growth. But even if the weed starts growing, it won’t be able to come out of the mulch and receive light. That said, it will die automatically after consuming all the energy it has.
Step-by-Step Process
- Clear the existing weeds first. You can pull them out or use a hoe.
- Make the surface smooth and level.
- Apply 2 to 4 inches of mulch in the area. Spread it evenly and keep it 5 inches away from the tree trunks.
- In the early spring, scratch the top layer of mulch. As the mulch at the bottom decomposes, add 1 inch every year or two to maintain optimal depth.

8) Propane Flame Weeders
Where to use: Driveway seams, paver patios, brick walkways, gravel parking pads, etc. Not for lawns.
Best for: Small, tender annual broadleaf weeds under 2 inches tall (common purslane, spotted spurge, pigweed, young chickweed) and newly sprouted annual grassy seedlings.
Avoid on: Established lawn turf, wooden decks, dried mulch beds, and deep-rooted perennials (Canada thistle or mature dandelions).
Flame weeding uses a burner that throws intense heat exceeding 2,000°F. The concentrated radiant thermal heat disrupts the internal cell structures of weeds. It boils the water inside the plant’s cell walls and causes the cellular membranes to rupture. It destroys the plant's vascular transport system.
Keep in mind that it does not burn or smoke the weeds. A short exposure to flame is enough. Within 48 to 72 hours, the weed dries out completely. Moreover, you need to do it safely and with precautions. Keep a fully pressurized garden hose or a 5-gallon water bucket nearby. Avoid it on windy days and use appropriate gloves, pants, and boots.
Step-by-Step Process
- Identify the weeds you want to kill.
- Ignite the torch and control the flame using the gas valve.
- You have to walk slowly, holding the burner 2 to 6 inches above the weeds. Pass the flame across the foliage for only a fraction of a second.
- Do not burn the weed.
- Let it dry and die on its own.

9) Boiling Water
Where to use: Concrete driveway cracks, sidewalk expansion joints, patio pavers, flagstone seams, and gravel perimeters. Not for lawns.
Best for: Surface annual weeds, young broadleaf rosettes, prostrate spurge, moss, and liverwort growing in hardscapes.
Avoid on: Established lawn turf, near shallow root zones of shrubs or trees, and on established taprooted or tuberous perennials (like mature dandelion or yellow nutsedge).
It’s one of the simplest chemical-free methods to get rid of weeds. People often use it for weeds growing in the driveway cracks and patio pavers. When you pour boiling water directly above the weed, it instantly denatures cellular proteins and collapses cell membranes.
The boiling water transfers heat into the soil. It cooks the crown, the shallow root mass, and any dormant weed seeds. Thus, it not only kills existing weeds but also seeds that can sprout in the future.
Step-by-Step Process
- Use a kettle and heat water to the boiling point.
- Put on leather boots, long pants, and heat-resistant silicone gloves.
- Carry the kettle carefully to the area.
- Pour boiling water slowly at the weed crown for 5 to 10 seconds.
- The foliage will turn dull within minutes. After 24 to 48 hours, the dead plant matter will dry up completely.
10) Soil Solarization
Where to use: Before seeding a new lawn, open garden beds, raised planter boxes, and vegetable plots. Not for existing lawns.
Best for: Dense soil seed banks (pigweed, common purslane, lambsquarters, crabgrass, foxtail), shallow annual broadleaves, soil-borne fungal pathogens, and nematodes.
Avoid on: Established turfgrass or planting beds, shaded areas, and areas lacking intense summer heat.
Soil solarization is inspired by the greenhouse effect. A sealed plastic cover is placed above the soil. It traps radiant solar energy and increases the soil temperature to a lethal level for plant tissues, dormant seeds, and pathogens. The moisture in the soil conducts the thermal energy deep into the ground.
You can do this technique during the 4- to 8-week period of mid-summer. As the heat is trapped beneath the sheet, the soil temperature rises to 110°F to 140°F. Over a consistent period, the heat bakes the weed seeds and denatures critical enzymes.
Step-by-Step Process
- Clear the area and remove debris, wooden stems, rocks, etc.
- Rake the soil a bit and level the surface.
- Water the area deeply, around 6 to 12 inches.
- Lay clear plastic on the area. Use 1 to 2 mil (0.025 to 0.05 mm) clear, UV-treated polyethylene plastic.
- Bury the edges of the plastic in a 4-inch trench around the perimeter. This creates an airtight seal.
- Wait for 4 to 8 weeks.

11) Cover Cropping
Where to use: Fallow vegetable gardens, raised beds between planting seasons, bare orchard rows, and large open soil areas awaiting future turf. Not for lawns.
Best for: Smothering fast-growing annual weed seed flushes (pigweed, crabgrass, foxtail, lambsquarters, chickweed), preventing winter annuals, and rebuilding depleted soil.
Avoid on: Active turfgrass lawns, planted perennial beds, and around established crops.
Cover cropping refers to replacing opportunistic weeds with beneficial vegetation. Instead of leaving bare soil, you should think about covering it with a fast-growing cover crop. You seed the bare area, and the vegetation consumes sunlight, moisture, and soil nutrients before weed seeds can wake up. This way, weeds do not grow in the area.
You can go with buckwheat, cereal rye, sorghum-sudangrass, crimson clover, and other cover crop species. When the cover crops reach maturity, they are mowed to create a thick, weed-suppressing organic mulch.
Step-by-Step Process
- Rake the bare soil and level it.
- Broadcast the seeds of the cover crop in the area.
- Lightly rake the area for better seed-to-soil contact.
- Water the area and keep it moist for up to 10 days until germination occurs.
- Cut down the cover crop when it reaches the 50% flowering stage. You can use a mulching mower or string trimmer.
- Leave the residue on the surface and plant your crops directly.
12) Horticultural Vinegar and Herbicidal Soaps
Where to use: Gravel driveways, paver patios, sidewalk cracks, mulch beds, fence lines, and unplanted garden rows. Not for lawns.
Best for: Small, tender annual broadleaf weeds (pigweed, young spurge, lambsquarters, chickweed) and newly sprouted grassy seedlings under 2 to 3 inches tall.
Avoid on: Established lawn turf, garden perennials or vegetables, and deep taprooted perennials (like mature dandelions, Canada thistle, or dock).
Horticultural vinegar is 20% to 30% acetic acid, which is 4 to 6 times stronger than the household table vinegar. Lawn owners often try this technique with table vinegar and do not get any results. The second option is herbicidal soaps, which are potassium salts of fatty acids.
When you use one of the two options and spray it on the weeds, it dissolves the waxy coating first. Then, it breaks down cellular membranes and disrupts internal cell walls. The weed starts to leak all its fluid and dehydrates.
It’s recommended to apply it during the day. The direct sunlight and heat accelerate the process. Within 24 hours, the foliage turns dark brown and brittle.
Note: If you are using horticultural vinegar, you have to be extra careful. It’s a hazardous industrial acid that can cause irreversible eye damage, chemical skin burns, and respiratory irritation if inhaled.
Step-by-Step Process
- Add 1 tablespoon of all-natural liquid castile soap or a commercial horticultural surfactant per gallon of 20% vinegar.
- Apply on a bright, sunny day. Make sure there is no rain forecast in the next 24 hours.
- Spray directly on the weeds. Use cardboard to protect other plants.
Synthetic Chemical Weed Control
13) Synthetic Pre-Emergent Herbicides
Where to use: Established lawns and commercial turfgrass.
Best for: Preventing annual grassy weeds (crabgrass, goosegrass, foxtail, barnyardgrass, annual bluegrass/Poa annua) and small-seeded annual broadleaves (prostrate spurge, common chickweed, henbit, yellow woodsorrel).
Avoid on: Any actively growing or established weeds, newly seeded or overseeded lawns, and vegetable gardens.
Application window: For summer annuals, apply in early spring when soil temperatures reach a sustained 55°F. For winter annuals, apply in late summer to early fall when soil temperatures cool down to 70°F.
Pre-emergents stop weed seeds when they try to germinate. They contain effective ingredients like Prodiamine (Barricade), Dithiopyr (Dimension), and Pendimethalin. They prevent plant cells from dividing and elongating. That’s why the seeds cannot form root hairs or establish a vascular anchor. The weed seeds that are trying to germinate and grow use their stored energy and die.
It won’t affect established grass and plants, as they already have mature root structures. Just make sure to apply water after using a pre-emergent. You need to water around 0.5 inches within 24 to 48 hours.
Never use pre-emergent if you have overseeded your lawn.

14) Selective Broadleaf Post-Emergent Herbicides
Where to use: Established home lawns, golf courses, sod farms, and athletic fields. Not for landscape flower beds, vegetable gardens, or around exposed ornamental roots.
Best for: Broadleaf weeds actively growing inside turfgrass (dandelions, white clover, broadleaf plantain, creeping Charlie/ground ivy, wild violet, henbit, dollarweed).
Avoid on: Grassy weeds (like crabgrass) or sedges and seedling lawns less than 4 to 6 weeks old.
Application window: Apply between 60°F and 85°F. Early autumn is the most effective window, and if you missed it, you can apply in spring.
Selective broadleaf post-emergent herbicides contain multiple active ingredients such as 2,4-D, Dicamba, MCPP (Mecoprop), and Triclopyr. These are growth hormones and can help you get rid of already grown weeds.
When the synthetic chemical is sprayed on broadleaf weeds, it starts uncontrolled cell division and rapid elongation. Within 24 to 48 hours, the stems of the weeds start to curl and distort. They affect the plant’s vascular system and even kill the taproots and crowns within 7 to 14 days.
Keep in mind that these do not affect the surrounding turfgrass, as they quickly metabolize and neutralize the compound. You can use them in your lawns.
15) Selective Grassy-weed Post-Emergent Herbicides
Where to use: Established lawns infested with invasive annual or perennial grasses
Best for: True grassy weeds in turf (crabgrass, foxtail, goosegrass, barnyardgrass, and annual bluegrass/Poa annua).
Avoid on: Broadleaf weeds, non-tolerant turf varieties (many formulas will severely damage fine fescues, bahiagrass, centipedegrass, or St. Augustine), and drought-stressed or dormant lawns.
Application window: Apply when grassy weeds are young (1 to 3 tillers). Add a suitable non-ionic surfactant to remove the waxy coating on leaves.

If you have grassy weeds within your established lawn, you need to use selective grassy-weed post-emergent herbicides. They have targeted enzyme inhibitors such as Quinclorac, Fenoxaprop-p-ethyl, and Dithiopyr. They affect only undesirable grassy weeds by targeting lipid synthesis pathways or cell-wall synthesis points and halting fatty acid production.
Your lawn grass isn’t affected because of slightly different internal enzyme structures. It metabolizes the chemical safely. Within 48 hours, the grass turns yellow and dies over 10 to 21 days.
Note: Make sure the herbicide you are applying is safe for your turfgrass.
16) Selective Sedge Herbicides
Where to use: Established home lawns, commercial turf, and around select woody landscape ornamentals.
Best for: Yellow nutsedge, purple nutsedge, false green kyllinga, globe kyllinga, wild onion, and wild garlic.
Avoid on: True grassy weeds (crabgrass), standard broadleaves (dandelions), vegetable plots, and newly seeded grass.
Application window: Spray in late spring to early summer. Also, use a non-ionic surfactant if it’s not in the product.
Sedges are neither true grasses nor broadleaf plants. They are monocots with triangular stems, shiny leaves, and underground reproductive tubers. You can’t pull them, as it triggers underground nutlets to sprout and produce new shoots.
Selective sedge herbicides have specialized enzyme inhibitors, usually sulfonylureas. They block the acetolactate synthase (ALS) enzyme, which is necessary for sedges. It halts cell division abruptly. Within 10-14 days, the sedge stops growing and dies completely. It’s worth noting that it also neutralizes the underground tubers.

17) Non-selective Systemic Herbicides
Where to use: Driveways, gravel perimeters, fence lines, preparing ground for complete lawn renovations, and clearing invasive woody brush or poison ivy. Never spray over a lawn you want to keep.
Best for: Established, deep-rooted perennial weeds (Canada thistle, field bindweed, poison ivy, wild blackberry, quackgrass) and clearing unwanted turf.
Avoid on: Selective spot-spraying in lawns without a drift shield, near garden beds on breezy days, and near green bark or exposed surface roots of prized trees.
Application window: Apply only when winds are under 3 to 5 mph. Use cardboard to protect other plants.
These herbicides eliminate any vascular plant tissue they come in contact with. They contain an active ingredient called Glyphosate. It blocks the EPSP synthase enzyme, which plants use to produce essential amino acids. The weeds die automatically once the chemical is absorbed. You will notice yellowing in 4 to 7 days. It requires 10 to 14 days to kill the whole weed, including the roots.
18) Non-selective Contact Herbicides
Where to use: Driveway seams, hardscape perimeters, gravel parking strips, and bed edging with spray shields. Not for lawns.
Best for: Young annual broadleaves, surface moss, and small seedlings.
Avoid on: Turfgrass lawns, established perennial weeds with deep root systems (thistle, dandelion, nutsedge), and woody brush.
Application window: Apply when annual weeds are under 3 inches tall. Direct sunlight accelerates chemical reactions, so select a bright sunny day.
Non-selective contact herbicides destroy only the physical plant tissue that comes in contact with the chemical. They do not travel down the roots.
They usually include Diquat dibromide, Glufosinate-ammonium, and Pelargonic acid. You can use them to get quick results. They turn weeds brown in a few hours, and it takes 24 to 48 hours to turn into crispy dead tissue.
Final Words
Weed control is all about identifying the weeds and selecting the right method to get rid of them. Whether you have a lawn, garden bed, borders, vegetable plots, or hardscapes, you can find a suitable natural or synthetic method in this comprehensive guide. Make sure to understand where you can use the method, which weeds will be affected, and where to avoid it. A mix of prevention and the right treatment keeps weeds manageable.