For lawn owners, the biggest worry is dead grass and spots. They ruin lawn aesthetics and don't let your lawn turn green again.
It is possible to fix the dead grass and revive your lawn. But you have to do it the right way. From the identification of the cause to planting new grass seeds, each step plays an important role.
We have made this comprehensive guide on how to fix dead grass. We will share the step-by-step process that even beginners can easily follow. So, grab your lawn care tools and equipment and make your lawn green again.
Step 1: Ensure the Grass is Dead
Before you get started, it's better to make sure the grass is actually dead. Because sometimes, the grass is in a dormant state, and beginner lawn owners think it's dead.
Cool-season grasses go dormant during summer. They can't handle high heat and drought. After 90⁰F, they enter the summer-dormant state and turn brown.
Warm-season grasses are sensitive to cold. They go dormant when the temperature goes below 55⁰F. Their color changes from green to bleached tan or straw. For more details, check out Cool-season vs. Warm-season grasses.
Thus, you know when to expect dormancy according to the grass variety you have. However, there is a simple test, called the Tug test, to determine with certainty.
Grab a handful of brown grass firmly. Give it a steady tug. If the grass pulls out without any resistance, it means the grass is dead. But if it resists and does not come out easily, it means that the grass is still alive. It's in a dormant state.

Step 2: Identify the Reason
Once you have confirmed the grass is dead, it's time to find out the reason. You can't start taking measures without knowing the root cause and relying on guesses. If you do that, your efforts will go in vain.
Here are some common root causes of dead grass.
Soil Compaction
Lawn soil has pores for the exchange of water, nutrients, and air. Over time, these pores get eliminated due to foot traffic, heavy lawn mowers, etc. Once these pores are gone, the grass cannot breathe and absorb nutrients and water. It struggles to survive and eventually dies.
If your soil is compact, you need to do lawn aeration. It's a process of poking holes and removing plugs from the ground. It reverses soil compaction and gives the soil access to water, nutrients, and air.

Drought Stress
Your lawn grass needs water to produce food and survive. If it does not receive enough water, it could die. Initially, it enters a dormant state to survive for a few weeks. After that, when the water is too scarce, it dies.
It usually happens in the part of the lawn that receives direct sunlight. The water evaporates quickly, and there is not much left for the grass.
Secondly, when you don't water your lawn according to its needs, it leads to drought stress. Check out how long to water grass to calculate the sprinkler time for your lawn.
Thick Thatch
Thatch is the layer of dead organic matter over the soil. When the thatch layer increases more than half an inch, it blocks air, water, and nutrients. When it gets extremely severe, the grass can't survive.
That's the reason lawn owners should keep an eye on the thatch layer. If it increases more than half an inch, they should consider lawn dethatching.
Pet Urine
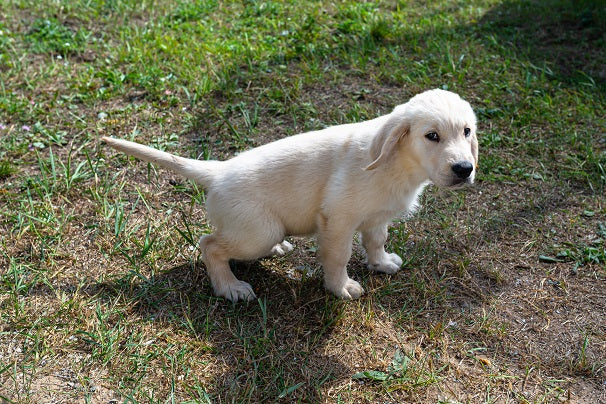
Animal urine contains a high amount of nitrogen. Your grass cannot handle this high concentration. It burns the grass and turns it yellow. Usually, pets like a favorite spot to pee, and this makes things worse.
The best way to deal with this is to train your pet. Dedicate a spot for urination. And if the pet pees anywhere in your lawn, dilute it through watering.

Pests
Pests, like grubs, can kill grass. They attack the roots and damage them completely. Eventually, you have dead grass. If your lawn has pests, you'd better treat it first before planting new seeds.
Scalping
Scalping means mowing grass too short. When you do that, the soil is exposed to the sun. It accelerates evaporation. Secondly, you end up cutting the energy reserves of the grass. It puts the grass under stress. Because of continued aggressive mowing, your grass dies.
Step 3: Clear the Lawn
Identifying the root cause allows you to put effort into the right direction. And now, you are ready to start fixing the dead grass.
Clear the lawn. You need a clean yard for better results. Firstly, get rid of twigs, branches, leaves, toys, etc.
Use a rake to get rid of the dead grass first. Scratch the surface of the soil and get rid of the grass blades. After raking, you should see the soil clearly. Do not leave any dead grass.

Step 4: Improve Soil
Without good soil, grass cannot thrive. The secret to having a lush, green lawn is hidden in the soil quality.
Dethatching and Aeration
Check for the thatch layer. If it is over 0.5 inches, you need to do dethatching. Otherwise, the layer will further increase and block the nutrients, water, and air.
To reverse soil compaction, lawn aeration is necessary. You need a 6-inch flathead screwdriver to assess soil compaction.
Push it into the soil. If it slides easily, it means the soil is perfect. But if you need to apply too much pressure or body weight to push 2 to 3 inches, it indicates the soil is compact.
If the soil is compact, you should use a core aerator. For small patches, a manual core aerator is enough. If you want to aerate the whole lawn, rent a power aerator.

Check for pH and Nutrients
Ideally, the soil pH should be slightly acidic to neutral, which means between 6.0 and 7.0. If the soil pH is disturbed, the grass won't be able to absorb nutrients. It's called nutrient lockout because the nutrients are still present in the soil, but the grass cannot access them.
You should monitor the lawn soil's pH on a regular basis. And while fixing dead grass, it is extremely important. You can test it using a digital pH meter probe (more accurate) or DIY test kits (less accurate).

Whether the pH is low or high, you can improve that. If the pH is low, you can add agricultural limestone. If the pH is high, you can go with elemental sulfur or acidifying fertilizers. Lab tests usually recommend what to apply and the quantity to improve pH levels.
The next important thing is the nutrients of your soil. It is important to know the nutrient content so that you can apply the right fertilizer. The macronutrients are Nitrogen, Phosphorus, and Potassium. You should have an idea of their levels in the soil. If you want to take it to the next level, you can also check the micronutrients like Iron, Magnesium, and Calcium.
You can do a test at home using a DIY testing kit to get a rough idea of the macronutrients in the soil. For exact values and micronutrients, you need to get the soil test from a lab.
Check out our Lawn Soil Testing guide to know how to test pH, how to collect a sample, and follow the process without any hassle.

Improve Cation Exchange Capacity (CEC)
Cation Exchange Capacity measures how many nutrients your soil can hold. It's an important measure that decides the future of your lawn.
The soil particles have a negative electrical charge, while the nutrients like Calcium and Potassium have a positive charge. So, the soil attracts these nutrients and holds them. But the amount of nutrients it can hold depends on the soil's ability.
If the soil's CEC is low, it means it cannot hold nutrients. Even if you add fertilizer, it will wash away with water. You can get a CEC report from a lab; there is no way to check at home.
When the CEC is low, you need to improve the soil. You can add organic matter, humic acid, organic fertilizers, etc.
Step 5: Mow the Grass
It's time to mow the grass and bring the blades to the recommended cutting height. It's necessary before you opt for pre-emergent, fertilizers, and other stuff. When the grass is properly cut around the lawn, anything you apply gives better results.
Check out the grass cutting height chart and mow your lawn accordingly. Do not mow more than one-third of the grass blades.
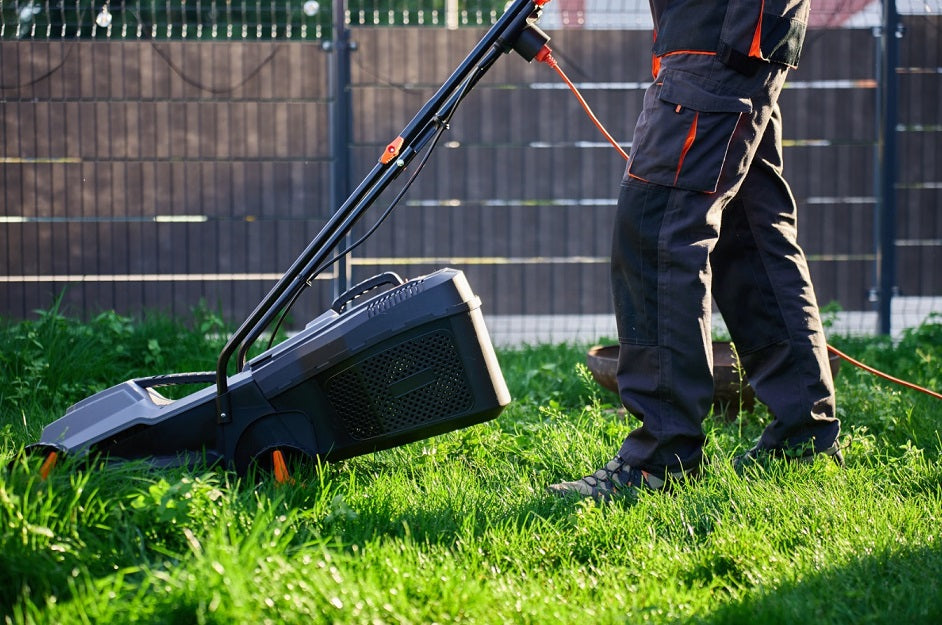
Make sure the grass is dry enough before cutting. The blade of the mower should be sharp to offer clean cuts. It's better to bag clippings at this stage.

Step 6: Control Weeds
It's essential to control weeds as they can steal water and nutrients from your new grass. However, you can't go with normal weed killers at this stage, as they will also affect the new grass seeds.
Ideally, you should remove weeds manually from the lawn. Pluck them out and dispose of them properly. But if there is an invasion of weeds, you need to use a post-emergent herbicide. Just make sure the herbicide you are applying will not affect the new grass.

Step 7: Fix Diseases and Pests
Lawn diseases and pests can be the root cause of dead grass. Thus, you have to fix them before applying new seeds.
Look for fungus in the lawn. These appear like cobwebs and fuzzy patches. Rake the area first and remove the fungus. To treat fungi, you need to use a fungicide.
Once you know the type of pest your lawn has, you can apply a pesticide. For instance, grubs can be killed by applying a curative grub control, which contains Dylox or Trichlorfon.

Step 8: Feed the Lawn
Your lawn needs water and fertilizer. Water your lawn properly. If the dead grass is due to heavy use of fertilizer, dog pee, or drought, it will be helpful in reviving the grass. It will dilute the chemicals, like high nitrogen, and make them less effective.
We have a comprehensive guide on how long to water grass. According to your lawn, you can calculate the exact time for sprinklers and ensure adequate watering.
After watering, you are ready to give food (fertilizer) to your lawn. We have done the soil test earlier during the process. It will help you decide which type of fertilizer your lawn actually needs. You can look for a suitable N-P-K ratio.
Generally, you can go with a starter fertilizer if there is no excessive shortage of any macronutrient.

Step 9: Overseed the Lawn
Now, it's time to overseed the lawn and invite new grass. We have already aerated the lawn and removed the thatch layer. So, the seed can have direct contact with the soil. Secondly, the fertilizer we have applied will help in the growth of new grass.
Calculate the total area you need to overseed. Consider all patches in the lawn and add their areas. And if you want to overseed the whole lawn, you can calculate accordingly.
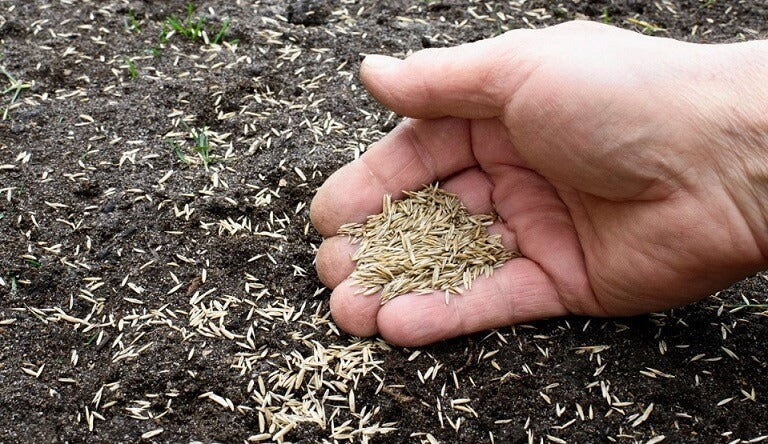
The seeding rate is usually mentioned on the seed bag. You can easily find the weight of seeds you need to use per 1,000 sq. ft.
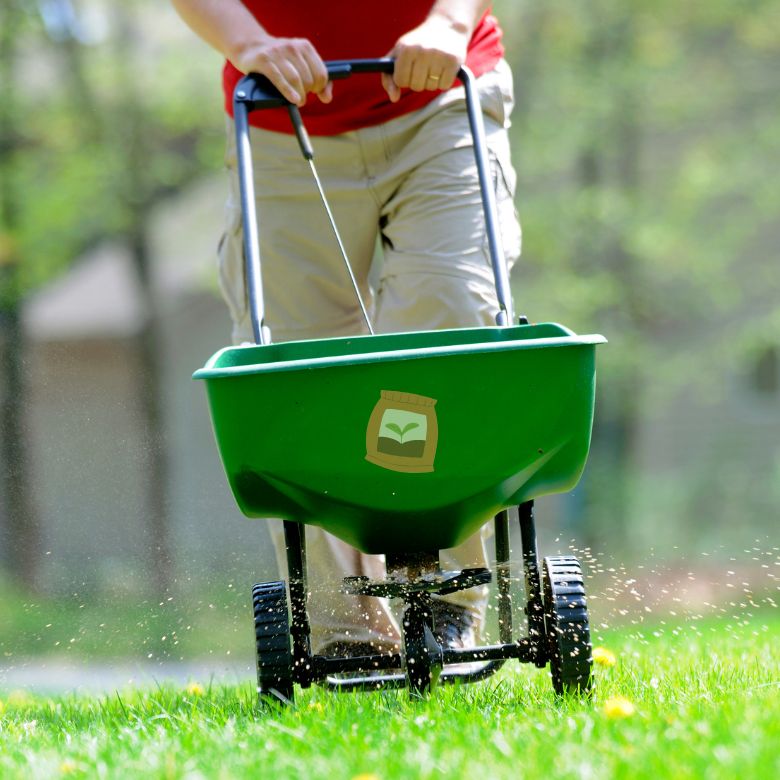
Apply the seed in the area. You can do it by hand or use a spreader. After seeding, you should roll over the seeds with a lawn roller. It presses the seeds firmly into the ground and creates better contact with the soil. It improves germination. For more details, check how to overseed a lawn.

Step 10: Take Care of Your Lawn
Here comes the crucial part. You have introduced new seeds to the lawn, and now, you have to take care of it for better results.
Watering
The new seeds require extra care when it comes to watering. You must keep the top of the soil wet for better germination. If you let the soil dry, the seeds might die, and there is no coming back.
For water recommendation, let's assume a sprinkler output of 1 inch per hour. Water 2 to 4 times a day during the germination process. Each watering session will be 5-10 minutes long. The lawn requires about ⅛ to ¼ inch of water daily.
After 1-2 weeks, your seeds will begin to sprout. You will see the tiny tips on the lawn. Now, you need to water a bit longer and ensure the moisture reaches 2 to 3 inches deep. Water 1-2 times a day and around 10 to 20 minutes each.
Between 4 and 6 weeks, you will witness grass on your lawn. Now, you can deep water. Water every other day and aim for 20 to 40 minutes per session.
Check out our detailed guide on how long to water new grass seed.

Mowing
Once the grass reaches 3 inches, you can start mowing. You have to maintain the optimal grass cutting height according to the grass variety.
Always follow the one-third rule. Never mow more than one-third of the grass blades. Otherwise, it will be stressful for the lawn.
It's important to mow the lawn on a regular basis to keep the grass in optimal health and avoid dead grass in the future. But people do not get enough time. They hardly mow on the weekend if they get time.
You can automate lawn mowing with the help of a robot lawn mower. It will precisely cut every corner and edge of the lawn and keep it maintained year-round. It will save you a lot of time, as you only need to set a schedule and mowing height. The mower will do the rest on its own.
Robot mowers do micro-clippings, which is beneficial for the lawn. The fine grass clippings turn into fertilizer and improve lawn health.
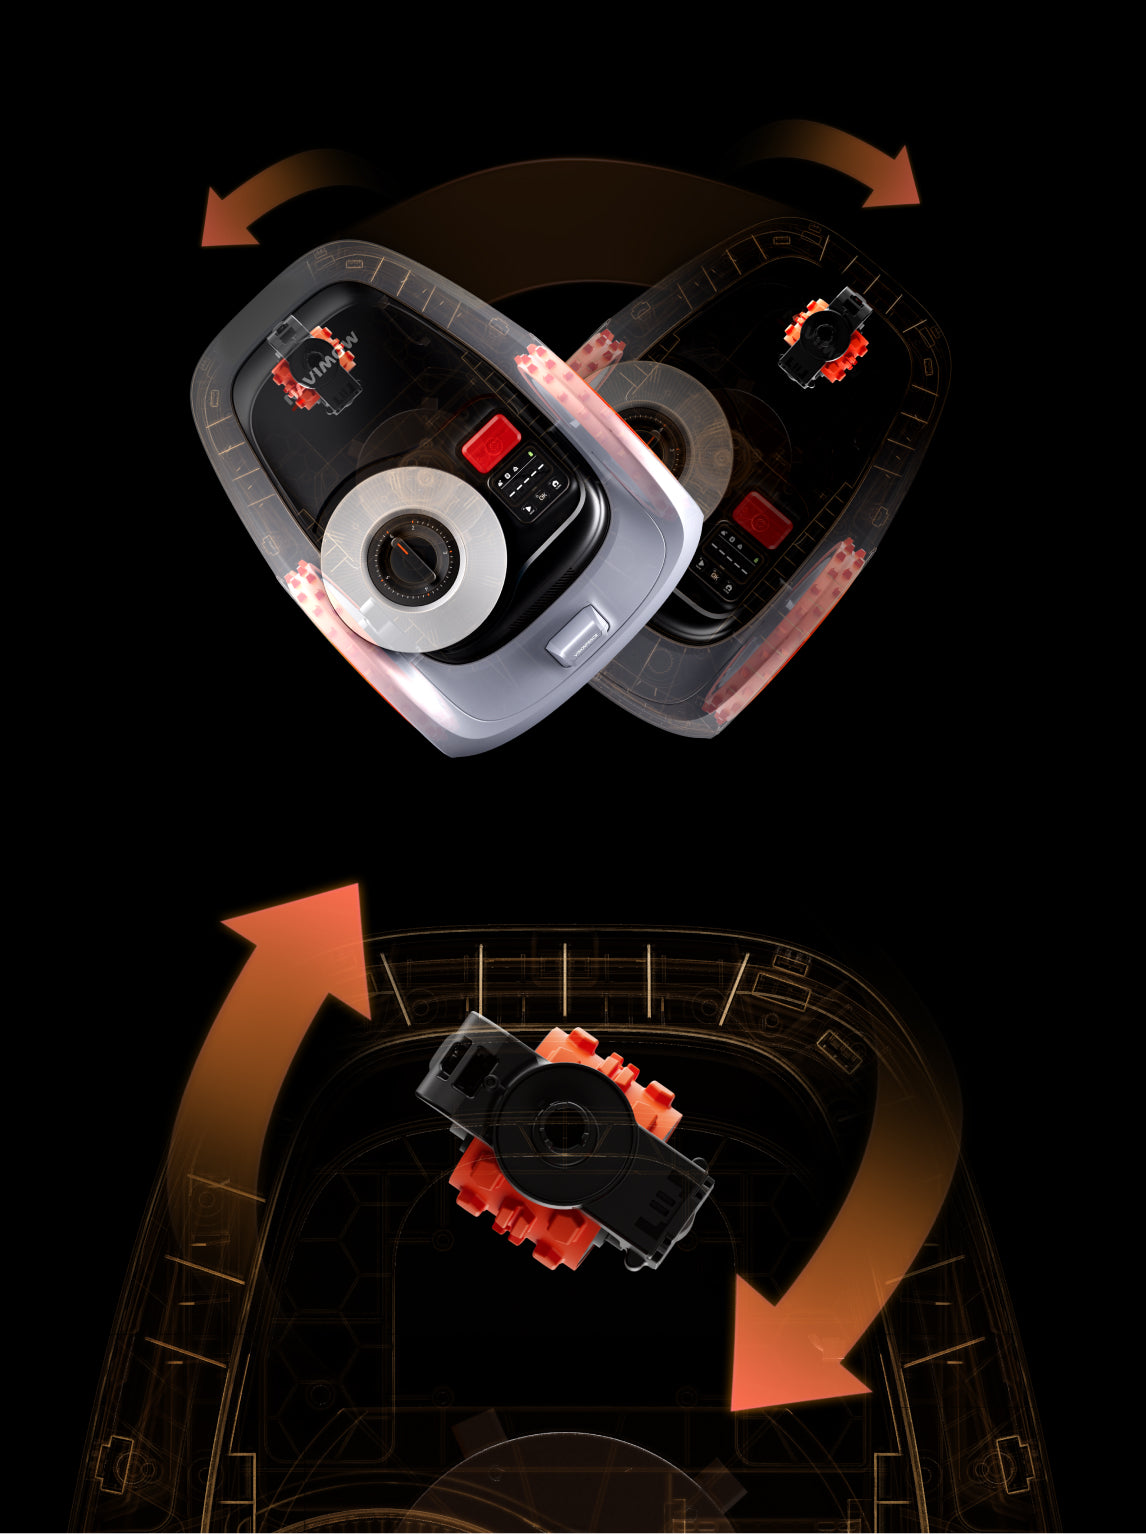
For small lawns up to 0.25 acres, you can go with the Navimow i2 AWD series. It's a budget-friendly and compact mower with incredible features. It's equipped with Xero-Turn™ AWD that allows the mower to work on difficult terrains. And the mower can make 180⁰ turns like a zero-turn mower without damaging the turf. It mows root-covered terrains, uneven stone paths, and slopes up to 45% (24⁰).
With VisionFence™, it detects 150+ obstacles. The vision and AI algorithm detect pets, persons, tools, and lawn objects. Within 0.1 seconds, the mower reroutes and maintains a safety buffer. It navigates your lawn precisely with vision and Network RTK. There is no need for buried wires and antennas. It will automatically map your whole lawn and mow the area with precision.

If you have a large lawn up to 1.5 acres, the Navimow X4 series is the best. It's the master of all terrains. Whether it is an uneven lawn, waterlogged lawn, or steep slope up to 84% (40⁰), it mows with perfection. It has All Wheel Drive (AWD), dual suspensions, and a patented Traction Control System (TCS) to mow almost any surface. The Xero-Turn™ enables the mower to take 180⁰ turns in the lawn and work in tight and narrow spaces.
It combines NRTK, 360° Vision, and VIO (Visual Inertial Odometry) to navigate your large lawn with precision. It automatically maps the whole area and allows you to edit real-scene maps on the app. It offers AI-Powered 360° VisionFence™ and Animal Protection that detect 200+ obstacles. It mows your lawn safely and handles long, thick, and dense grass without any hassle.

FAQs
What is the fastest way to fix dead grass?
Once the grass is dead, you have to follow the whole process for growing new grass. There is no shortcut. Identify the reason for dead grass, fix the issue, clean the lawn, fertilize the area, and take other measures before planting new seeds. After that, you need to take care of the lawn so that the seeds can germinate and make your lawn green again.
Will dead grass grow back on its own?
No, dead grass can't grow back on its own. It's dead. You must plant new seeds in the area after cleaning, fertilizing, and fixing other issues.
Can I put grass seed over dead grass?
No. The seeds will not grow as they don't have direct contact with the soil. You must remove the dead grass first until you see the soil. There should be no thatch. Once you put grass seeds over the soil, press them with a roller for better results.
Should I remove dead grass from my lawn?
Yes, you should remove dead grass from your lawn. It's of no use and can't be revived. Remove it and prepare the area for new grass seeds. It's the only way to make the area green.
Why does my lawn have so much dead grass?
Your lawn could be dealing with soil compaction, excessive thatch, pests, high nitrogen fertilizer, pet urine, drought stress, or aggressive mowing. Identify the issue first and fix it before planting new grass seeds in the lawn.